How to Use S3Browser with Geyser Data Cloud Tape Library: A Step-by-Step Guide
- Nelson Nahum
- Aug 22, 2024
- 3 min read
Updated: Nov 8, 2024
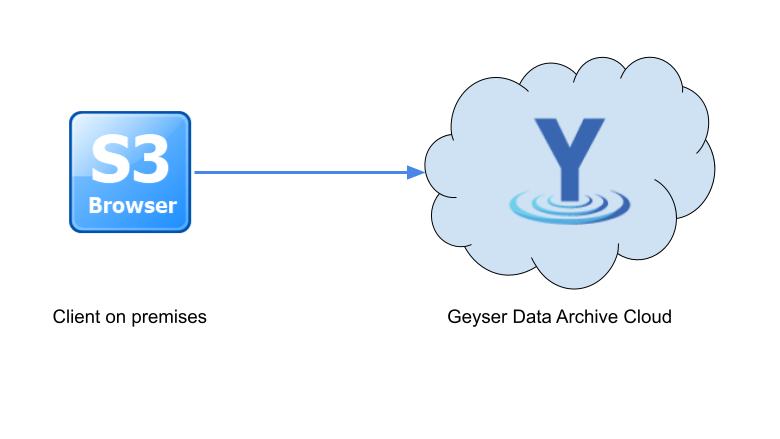
Are you looking to leverage Geyser Data's robust cloud storage for your data needs while using the familiar S3 Browser interface? You're in the right place. In this guide, we'll walk you through the steps to configure S3Browser and Geyser Data, enabling you to manage your cloud storage efficiently and effectively.

Step 1: Install and Launch S3 Browser
If you haven't already, download and install S3 Browser from www.s3browser.com. Once installed, open the application to begin the setup.

Step 2: Add a New Account
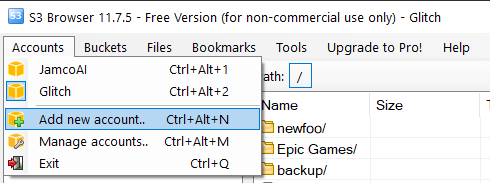
Click on the Accounts tab in the S3 Browser menu.
Select Add New Account from the dropdown menu.

Step 3: Configure Your Geyser Data Account
In the New Account dialog, enter a name for your account. This could be anything descriptive that helps you identify the account later (e.g., "Geyser Data").
Select S3 Compatible Storage as the account type.
Enter the Service Endpoint URL that matches the one provided in your Geyser Data console (e.g., https://boulderlab.geyserdata.com).
Input your Access Key and Secret Key. These credentials should be directly copied from the Geyser Data console when you generate them.
Make sure to uncheck the Use Secure Transfer (SSL/TLS) option unless required by your specific setup.
Click Add new account.
Step 4: Handling the Bucket Browsing Limitation
After adding your account, you might encounter a pop-up message indicating that you cannot browse buckets on the account. This is due to the S3 Browser being tailored primarily for Amazon S3. Here’s how to handle this:

When prompted with the message, select Yes to add an external bucket.
In the Add External Bucket dialog, enter the bucket name exactly as it appears in the Geyser Data console, ensuring to include both the leading and trailing slashes (e.g., /jamcoai-9170c7f8-1a2d-4c12-ac19-0f69fdb3d46a/).

3. Click Add External Bucket.

Step 5: Accessing Your Geyser Data Buckets
If the setup is successful, you should now see your bucket listed on the left-hand side of the S3 Browser interface. If the bucket already contains data, you will see its contents displayed.

Step 6: Uploading Files to Geyser Data Cloud Tape Library
To upload files:
Select the bucket from the left pane.
Click the Upload File button.
Choose the file(s) you wish to upload from your local storage.
This process will initiate the transfer of your files to the Geyser Data cloud, where they will be securely stored and easily accessible through the S3 Browser interface.

Step 7:File Restore
Restoring files from the Geyser Data Cloud is as easy as storing the data. HIghlight the file you want to download in the browser window and press the Download button. A file save dialogue box will open allowing you to select the download location

If the file is listed in a storage tier other than Standard, first you will need to restore that file to disk before you can download it. To recover a file from a lower tier, right click on the file and select Restore from Glacier. This will begin the process of bringing the file back to disk. Once it is back, the storage class will change so you know it is ready for download.

Conclusion
Using S3 Browser with Geyser Data allows you to harness the power of Geyser’s scalable and secure cloud archive storage while maintaining a user-friendly interface. Whether you're managing large datasets or just need an efficient archive solution, this setup provides a streamlined and reliable option for your cloud storage needs.
Make sure to regularly monitor your storage usage and manage your buckets effectively to optimize your cloud storage experience. If you encounter any issues, refer to the S3 Browser help resources or contact Geyser Data support for assistance. Happy cloud managing!


Comments